Have you ever wondered how to keep your fleet on the road even when it’s time for a fresh new wrap? Fleet wrap installation can feel like a logistical nightmare, with the constant worry about downtime and disruptions.
But, fear not! With the right strategies and a touch of planning, you can reduce downtime significantly. Your fleet can transform with minimal interruption to your daily operations.
Understanding Fleet Wrap Installation
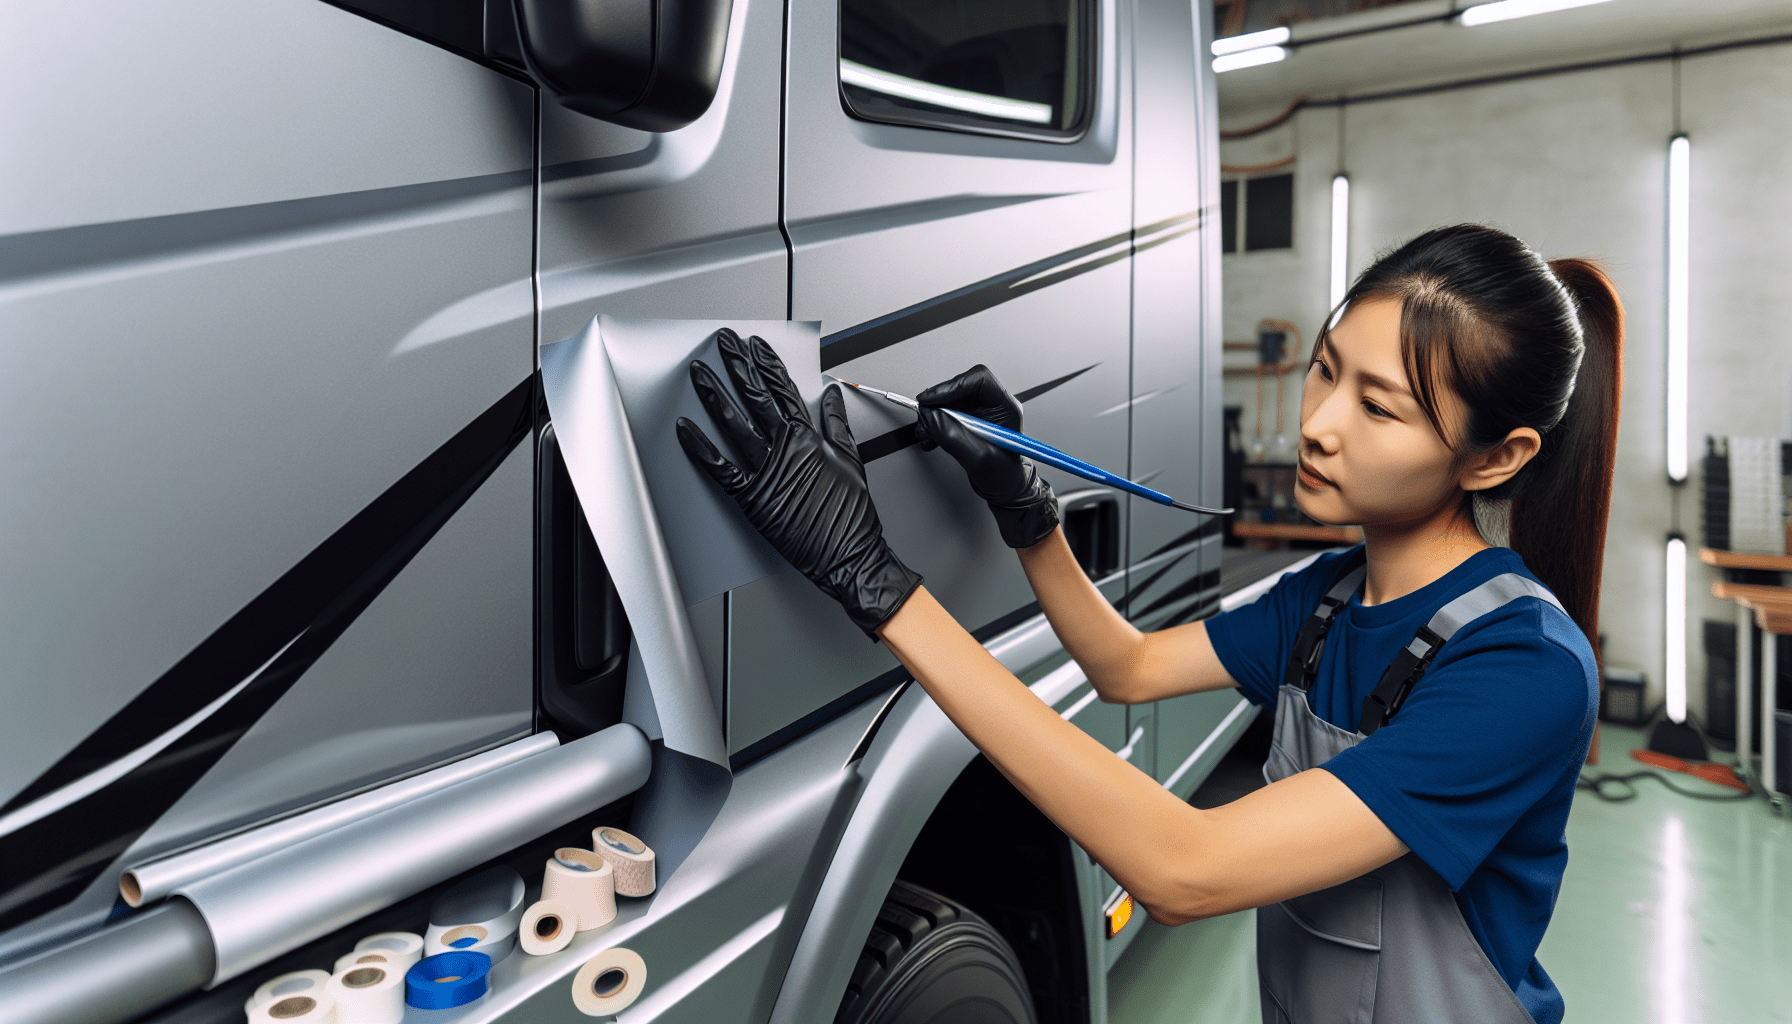
Fleet wrap installation is more than just slapping a large sticker onto your vehicle. It’s a delicate process that involves design precision, material quality, and expert installation. Imagine your fleet as moving billboards; the design needs to be captivating, the materials durable against weather conditions, and the application flawless to avoid any mishaps on the road.
The Importance of Reducing Downtime
Downtime during fleet wrap installation not only means your vehicles are out of service but also translates to lost revenue and reduced operational efficiency. When your vehicles are your business’s lifeline, keeping them off the road for too long can be detrimental. Reducing downtime ensures you maintain your business’s productivity while still achieving standout, professionally wrapped vehicles.

Tips for Minimizing Downtime During Fleet Wrap Installation
It’s not just about staying on schedule but also about strategic planning and choosing the right partner for the job. Here are some detailed tips to help ensure a smooth fleet wrap installation process with minimal downtime.
Pre-Installation Planning
Careful and strategic planning can significantly reduce downtime. By organizing the logistics properly, you ensure that the installation process runs smoothly.
- Assess Your Fleet: Begin by understanding the size and type of your fleet. Different vehicles may require different techniques and materials.
- Schedule Wisely: Choose a time for installation when your vehicles are least needed. Early mornings or late evenings might work best.
- Prepare in Advance: Have your vehicles clean and ready before the installation begins. A clean surface is essential for a successful wrap.
Choosing the Right Installation Partner
Partnering with a professional and experienced wrap installation company can save you headaches. Look for a company with a proven track record.
- Reputation and Reviews: Check their portfolio and read reviews. Companies like Xclusive Wraps and Tint are well-recommended for their expertise.
- Certifications: Ensure they have the necessary certifications and training.
- Comprehensive Services: Choose a company that offers both design and installation services. This ensures a seamless process from start to finish.
Innovative Installation Techniques
Leveraging modern technology and innovative installation techniques can expedite the process.
- Pre-Printed Panels: Using pre-printed panels can reduce the time spent on-site.
- Modular Designs: Designs that can be applied in sections ensure that the vehicle can return to service more quickly.
- High-Quality Materials: Opt for materials that are easier to apply and adhere more effectively, ensuring a quicker process.
Flexible Installation Scheduling
Flexibility in scheduling can also lead to faster turnaround times.
- Staggered Scheduling: Instead of taking all vehicles out of service at once, stagger their installations.
- Round-the-Clock Service: Some companies offer 24/7 services, allowing you to have installations done overnight or during off-peak hours.
Detailed Breakdown of the Fleet Wrap Installation Process
Let’s break this down step-by-step to understand how to keep your fleet rolling with minimal interruption.
Initial Consultation
Your first step is an initial consultation with the wrap installation company. This meeting will involve discussing your needs, examining your fleet, and setting expectations. This is where you’ll also get insights into the best materials and design options for your fleet.
Design and Material Selection
Next up is the design phase. You’ll work with graphic designers to perfect the look of your wraps. Here, it’s crucial to opt for designs that are not only aesthetically pleasing but also functional and easy to install.
Pre-Installation Preparations
Before the installation day, prepare your vehicles by ensuring they are clean and dry. Any contaminants can affect the wrap’s adhesion.
Actual Installation
During the actual installation, experts will apply the wrap in a controlled environment to avoid any dust or air bubbles. If you’re working with a company like Xclusive Wraps and Tint, you can expect precision and attention to detail.
Post-Installation Review
After the wrap is applied, a thorough review ensures there are no imperfections. This step is crucial for the longevity of the wrap.
Table: Fleet Wrap Installation Process
| Step | Description |
|---|---|
| Initial Consultation | Discussion of needs, examination of fleet, setting expectations |
| Design Phase | Collaborating with graphic designers to perfect the look |
| Pre-Installation | Cleaning and drying vehicles to ensure adhesion |
| Installation | Applying the wrap in a controlled environment |
| Post-Installation | Thorough review to ensure perfection |

Common Challenges and How to Overcome Them
Even with the best-laid plans, challenges can arise. Here are common issues faced during fleet wrap installations and tips on how to overcome them.
Weather Conditions
Weather can significantly impact the installation process. Cold or rainy weather can delay the process or affect the wrap’s adhesion.
Solution: Have a controlled indoor environment for the installation, or schedule pending good weather forecasts.
Unexpected Delays
Delays can occur due to unforeseen circumstances such as supply shortages or technical issues.
Solution: Maintain clear communication with your installation partner, and always have a contingency plan.
Design Complications
Sometimes the design might not translate well onto the vehicle, causing alignment issues.
Solution: Work closely with experienced designers and technicians to troubleshoot and adjust the design where necessary.
Importance of Professional Installation
While it might be tempting to save money with a DIY approach, professional installation ensures longevity and quality. Professionals have the right tools, experience, and environment to apply the wraps correctly, ensuring they withstand varying weather conditions and the test of time.
Why Choose Xclusive Wraps and Tint
Looking for a top-tier wrap installation service? Xclusive Wraps and Tint located at 7655 E Redfield Rd #110, Scottsdale, AZ 85260 (480-849-8478) offers comprehensive services that emphasize quality and efficiency. Their team of experienced professionals uses state-of-the-art materials and techniques to ensure minimal downtime and maximum impact. Customer satisfaction is at the forefront of their priorities, making them the ideal partner for reducing downtime during fleet wrap installation.
Maintenance Tips for Wrapped Vehicles
Once your fleet is wrapped, proper maintenance is key to ensuring the wraps last as long as possible without requiring touch-ups or replacements.
Regular Cleaning
Regular cleaning helps maintain the wrap’s appearance and prevents premature wear.
- Hand Washing: Use a soft cloth and mild detergent to wash your vehicles.
- Avoid Power Washers: High-pressure sprayers can damage the wrap.
Inspection
Frequent inspections help catch any issues early before they require extensive repairs.
- Check for Lifting Edges: Ensure the wrap edges are not lifting or peeling.
- Address Damages Promptly: Fix any nicks or scratches as soon as they appear.
Parking
Consider where you park your vehicles. Prolonged exposure to extreme sun or cold can affect the wrap’s durability.
- Indoor Parking: Whenever possible, park your wrapped vehicles indoors.
- Shade and Cover: If indoor parking isn’t available, use covers or shades to protect the vehicles.
Frequently Asked Questions About Fleet Wrap Installation
How long does a vehicle wrap last?
Typically, a high-quality wrap can last between 3 to 5 years, depending on the materials used and the maintenance performed.
Can a wrap be removed without damaging the vehicle?
Yes, wraps can be removed professionally without causing damage to the vehicle’s original paint.
How long does the installation process take?
The installation time varies based on the size and number of vehicles but generally ranges from 1 to 3 days per vehicle.
Is a vehicle wrap cheaper than paint?
Yes, wraps are generally more cost-effective than a full paint job and offer the added benefit of being removable.
Can I wrap a leased vehicle?
Wrapping a leased vehicle is usually permissible and can protect the original paint, potentially avoiding lease-end fees for damage.
Conclusion
Reducing downtime during fleet wrap installation is all about strategic planning, choosing the right partners, and maintaining your new wraps. From pre-installation preparations to the actual application and beyond, following these tips ensures that your fleet remains on the road, looking sharp, and promoting your brand effectively. Remember, for top-notch service and to gather more information, contact Xclusive Wraps and Tint at their Scottsdale location. Keep your fleet moving and your business growing with professionally installed fleet wraps.